
In this article, you’ll learn how to connect a dryer vent hose in a few easy steps.
Connect a Dryer Vent HoseOur Dryer is one of the appliances that we use the most since laundry is a never ending chore, or so it seems. The dryer vent is one of the most important aspects of the dryer in that if it is not properly connected the home may be dampened considerably and the dust and lint from it will spill into your home as well.
Preparation
Make sure that your dryer is properly vented to prevent mildew and damage to your laundry room walls.
If your room seems particularly damp when you are doing laundry it may be that the dryer vent has developed a hole in it from use or age and needs to be replaced.
How to Connect a Dryer Vent Hose
If you have an older home, chances are that your dryer vent is not connected properly. This can cause serious problems for the house and its inhabitants. If it’s time to replace or repair this part of your plumbing system, here’s how to connect a dryer vent hose correctly:
- Remove any existing clamps from the old ductwork. You may need to remove some screws as well.
- Cut off about 1/4 inch of each end of the new section of pipe with tin snips. The ends should be smooth and flat on both sides.
- Use pliers to bend one side back so there will be no sharp edges when connecting them together.
- Slide the two pieces into place and tighten down the clamp. Make sure they fit snugly against each other before tightening down the clamp.
- Repeat steps 2-4 until all sections of piping are in place.
- Turn on the water supply at the main shutoff valve. Check the pressure by turning on faucets throughout the house. It should feel normal.
- Run the hot water through the pipes to make sure everything works fine. Test the temperature of the air coming out of the vents near where the pipes enter the wall.
- Once everything seems to work normally, turn off the water supply and test again.
- When satisfied that everything is working smoothly, reconnect the cold water supply line and run water through the pipes to flush out any remaining debris.
- Close up the valves and enjoy!
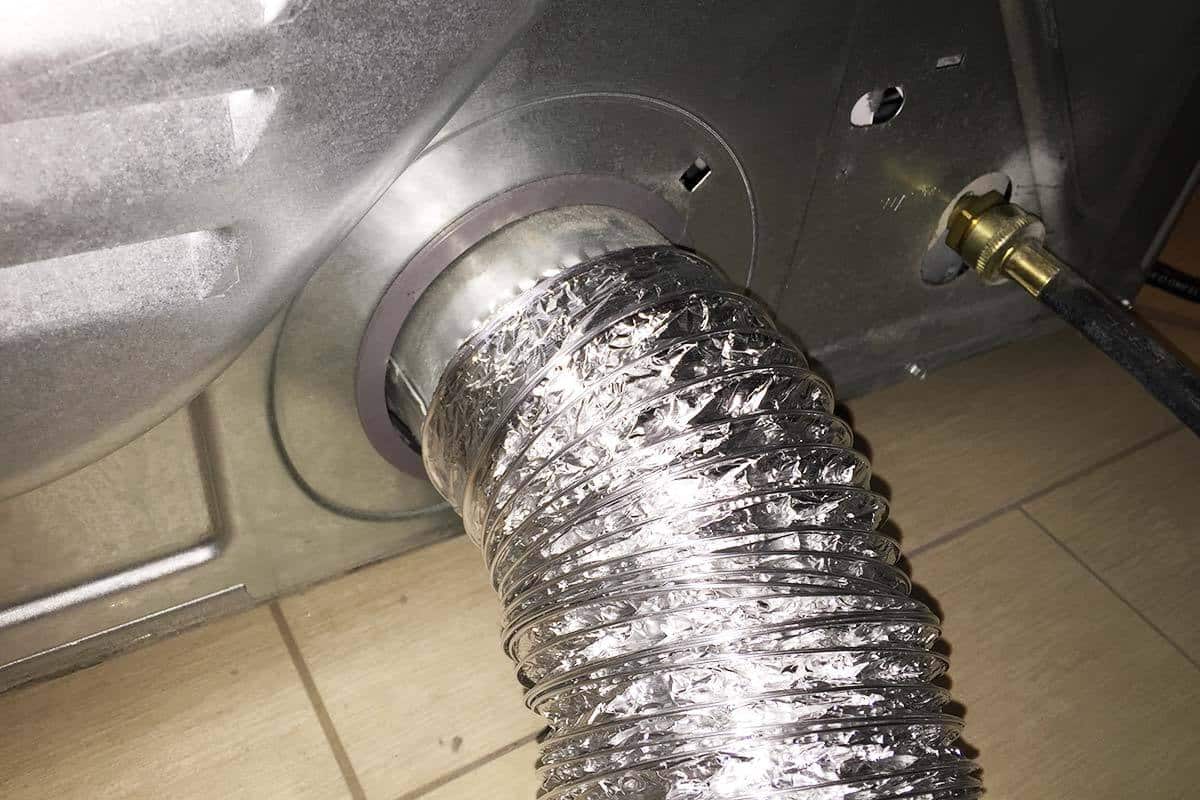
To replace it, simple remove the hose clamps from the vent pipe and the inlet on the back of the dryer.
Discard the old dryer vent hose and purchase one (most are standard size) from the local hardware or department store housewares department.
Taking out the dryer hose from the package, extend it on one end, and place a large hose clamp,‚ ( using a flat head screwdriver, loosen the clamp screw‚ and withdraw the clamp wire until it is large enough to fit, )or if you haven’t one, I have, in a pinch used zip ties, which are my standard do it yourself clamp.
Do the same on the Dryer inlet and push the dryer back into place.
Questions
I was asked this question on site and will address it here.. In some cases there will not be a vent installed to the outside. We recommend that rather than using the old trick of venting into a water stand, you cut that vent. ‚ The reasons are that lint is released into your home which can exacerbate those who have allergies and additionally, and additionally the buildup of moisture encourages the growth of bacteria.
If your dryer is powered by natural gas or propane, IT IS VERY DANGEROUS TO VENT TO THE INSIDE. Your dryer produces exhaust gas which is blown out with the air that has been heated. and will actually create an atmosphere of poisonous gas such as carbon monoxide.‚ With natural gas dryers and propane always vent to the outside.
Conclusion
In summary, if you want to avoid having to call a professional every time something goes wrong with your plumbing system, then take care of these simple tasks yourself. By doing so, you save money while also saving valuable time. Check this video, or the video below.